Mark-out and speak
Hook the tape once and mark the whole run. The mark-out card turns a result into running measurements, all read from one hook point, so you never add up spacings in your head or carry an error down the board. It keeps your place as you go, and it can read the marks out loud while both hands are on the tape.
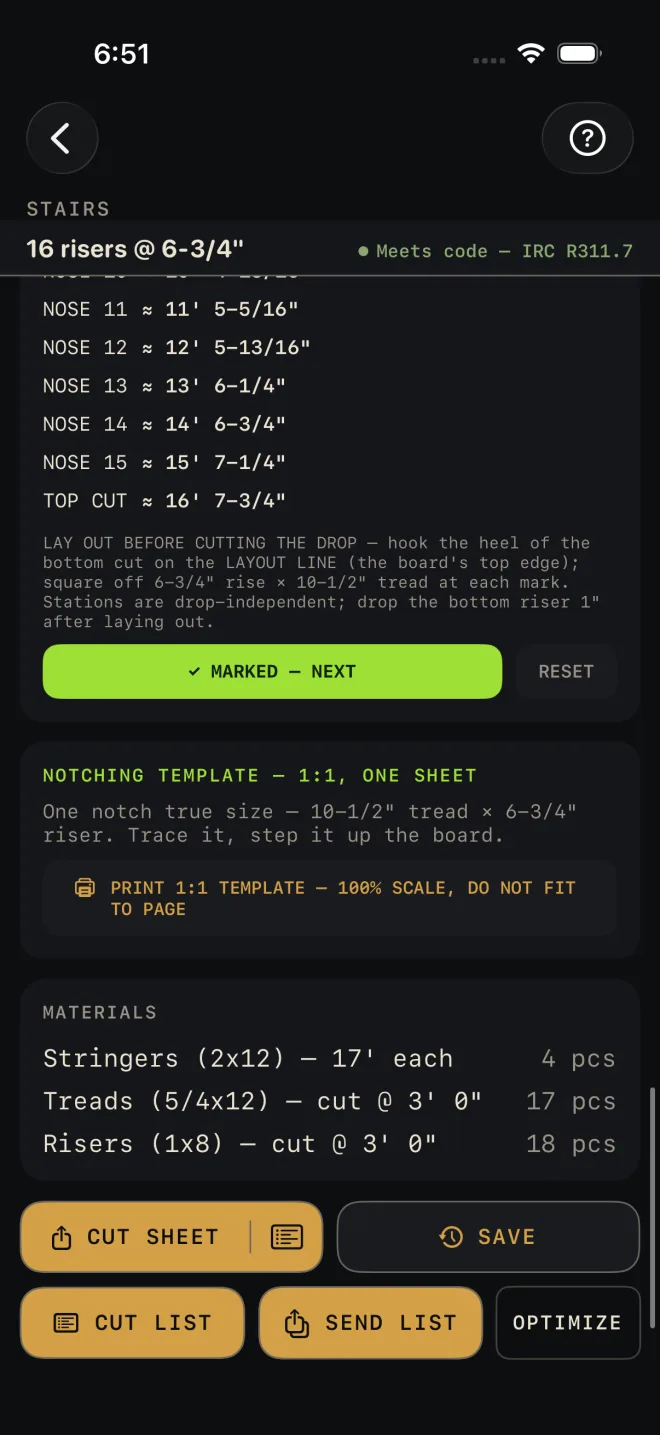
The card is headed RUNNING MARK-OUT and sits below the drawing on five calculators: Stairs, Baluster Spacing, Fence, Hip & Valley and Arc / Circle.
Step by step
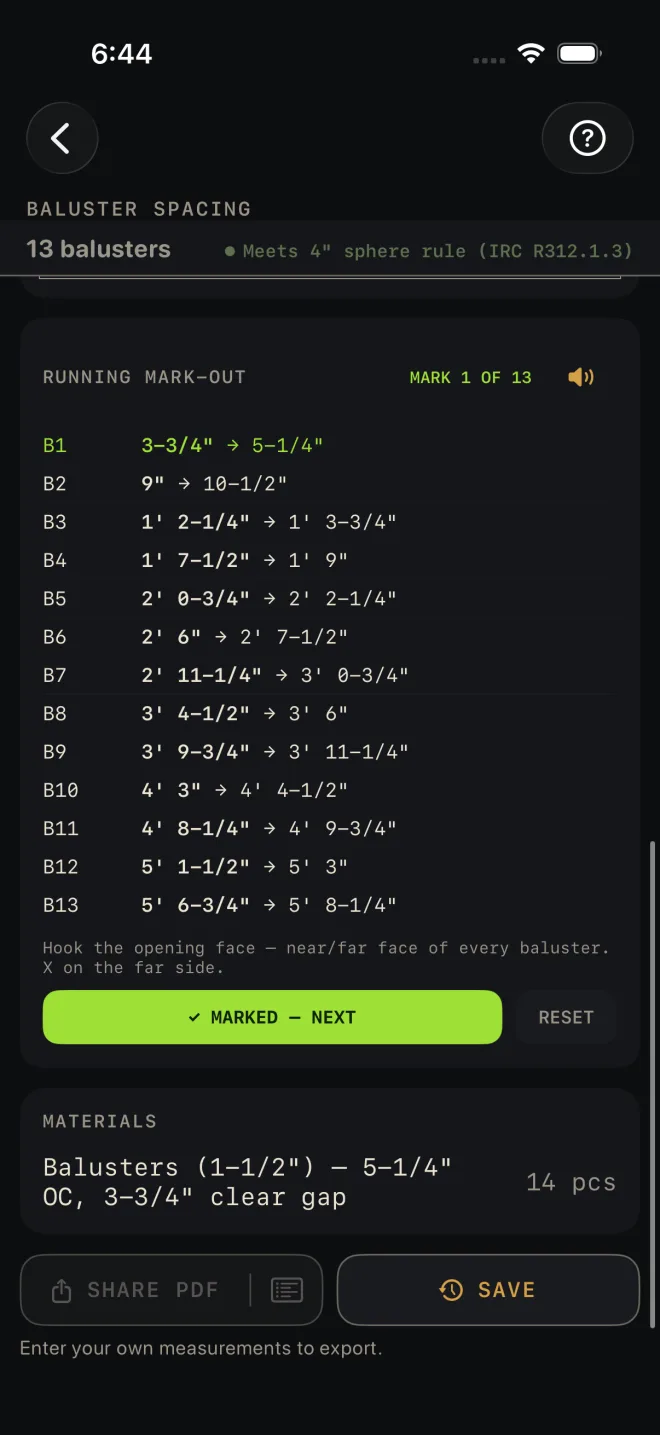
This is Baluster Spacing on its default inputs. Every card works the same way.
 1
2
3
4
5
1
2
3
4
5
- Read the note under the list first. It says where to hook the tape and how to read the marks. Here it is "Hook the opening face — near/far face of every baluster. X on the far side."
- The green row is the mark you are on. The first figure is the near face of the piece and the figure after the arrow is the far face. In the shot, B1 runs from 3-3/4" to 5-1/4". Mark both and put your X between them. A row with one figure is a single point.
- Make the mark, then tap ✓ MARKED — NEXT. The row is struck through and the next one turns green. The counter at the top moves on, from MARK 1 OF 13 to mark 2. When the last row is done the button reads ALL MARKED.
- Lost your place? Tap any row to make it the current mark. Tap RESET to start again from the first. It asks before it clears, because your ticks are the only record of where you got to — tap Reset to confirm, or tap outside the box to keep them.
- Tap the speaker button to have the marks read aloud, starting from the current mark. Each line is the label and then the measurement in words, with a short pause after it so you can make the mark. Tap the button again to stop.
 1
3
4
1
3
4
More than one tape
Where there is more than one way to set the work out, a row of tabs above the list switches between them. Each has its own hook point, so read the note again when you switch. Switching starts that tape from its first mark.
- Stairs — NOTCHED gives the step corners up the layout line for a sawn stringer. HOUSED gives the two ends of each routed pocket. STORY POLE is the vertical rod: the top of each finished tread above the lower floor, ending at LANDING.
- Hip & Valley — one tape runs up the hip or valley itself and carries both faces of every jack. The second runs along the PLATE from the corner for a hip, or along the RIDGE for a valley.
- Arc / Circle — ORDINATES is the distance along the chord and then the offset to square off it. FROM CROWN measures down from a level line at the crown instead. STUDS gives stud centres from the middle of the chord, and only appears when the chord is long enough to have any.
- Baluster Spacing and Fence have one tape each. The fence tape hooks the centre of the first post and gives both faces of every post between the ends. Gates are laid out on site.
What speak does to the phone
Speech plays even when the ring switch is on silent, and it turns other audio down while it talks. It stops by itself when you switch tapes, change an input, reset the marks or leave the calculator. The spoken figures are rounded to the nearest 1/16", the same as the figures printed on the card.
If it doesn't work
- The ticks disappeared. Changing any input that moves the marks clears your progress, so old ticks are never left against new measurements. Finish marking before you change a number.
- There is no card. The card only shows when there is something to mark. If the result has no stations, it is left off.
- You cannot hear it. Turn the volume up with the side buttons. The silent switch does not mute it. If the speaker button shows a lock, it needs Pro.
- It started reading part-way down. It always reads from the current mark. Tap RESET and confirm first to hear the whole tape.
- The tabs have become a menu. At the largest text sizes the tape tabs change to a menu so the names are not cut off. It works the same way.